
REVIEW · VOLCANO HIKES & NEVADO DE TOLUCA
From Mexico City: 2-Day Pico de Orizaba Summit Trek
Altitude sets the rules fast. This two-day Pico de Orizaba summit trek mixes glacier sunrise drama with tight guide-led safety. I like that you practice crampons and an ice axe before the big push, and you sleep in a mountain hut at Piedra Grande so you start day two already acclimatized. The one consideration: you should plan for real altitude strain and very cold conditions, and this isn’t a casual beginner outing.
You also get the kind of climb where small-group size matters. Limited to 15 people, the focus stays on spacing, pace, and technique on snow and ice, not on rushing to keep everyone together. I also like that the food is built into the plan: you’re not guessing where a meal fits after a hard day on the mountain.
The overnight setup is simple by design. You’ll be in an basic hut for one night, so bring what you need to stay warm and comfortable, including a proper sleeping bag and warm layers.
In This Review
- Key Things I’d Book This For
- The Core Experience: What You’re Actually Signing Up For
- Day 1: Mexico City to Piedra Grande Hut (Get Ready Before the Cold Gets Real)
- Day 2: Before Dawn Start, Glacier Sunrise, and the Summit at 5,700 m
- Why the Glacier Route Feels Different (And Why Training Helps)
- Guides, Safety Gear, and Accident Insurance: The “Included” Stuff That Matters
- What You Should Really Pack (So You Don’t Freeze or Fumble)
- Hut Night at Piedra Grande: Expect Simple, Build Your Comfort Anyway
- Price and Value: Is $599 Fair for a 2-Day Pico de Orizaba Summit?
- Who This Trek Is For (And Who Should Skip It)
- Getting There: Meeting Point in Mexico City
- Should You Book This Pico de Orizaba Summit Trek?
- FAQ
- Where is the meeting point in Mexico City?
- How long is the Pico de Orizaba summit trek?
- What language is the live guide?
- Is crampons and an ice axe included?
- What meals are included?
- What time do we start on the summit day?
- Who should not take this trek?
Key Things I’d Book This For
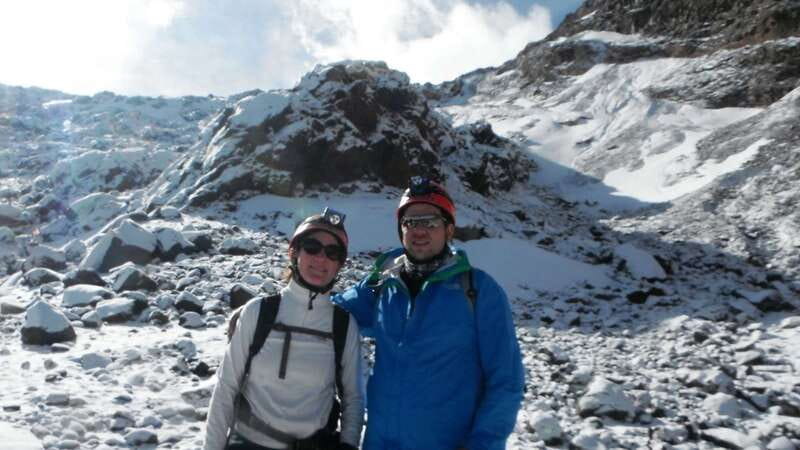
- Glacier sunrise near the crater route: you’ll be positioned before dawn for those first rays on the ice.
- Crampon and ice axe practice: you learn and rehearse before the summit attempt.
- Highest peak in Mexico at 5,700 meters: the elevation is the point, so the program takes acclimatization seriously.
- Professional guides and safety gear included: headlamp, helmet, crampons, and ice axe are part of the package.
- Small group for safer pacing: up to 15 participants keeps the climb more manageable.
More thin-air climbs above the valley
- Nevado De Toluca: Reach the Summit with Professionals
★ 4.8 · 250 reviews - Iztaccihuatl Volcano Hike with an Alpinist
★ 4.0 · 244 reviews - Mexico City: Guided Volcano Trek with Lunch
★ 4.7 · 242 reviews - From Mexico City: Hike Iztaccihuatl Volcano with an Alpinist
★ 4.3 · 155 reviews
The Core Experience: What You’re Actually Signing Up For
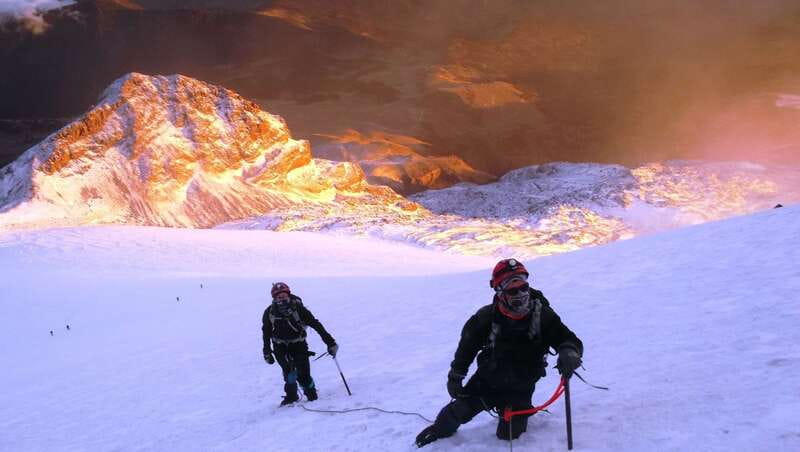
This is a high-altitude mountaineering trek built around one goal: reaching the summit of Pico de Orizaba, Mexico’s highest point at 5,700 meters. You’re climbing on glacier terrain, which means the “walk” part is only half the story. The other half is managing cold, traction, and breath control while you follow rope-and-technique style guidance from experienced leaders.
I like that the plan is structured so you’re not thrown into technical footing right at the start. You leave Mexico City, move into the mountain area, sleep at Piedra Grande, then begin early with sunrise in mind. That timing matters because glacier visibility and snow conditions are often best when you’re moving before the day warms up.
One more thing I appreciate: the tour is explicit about who it fits. It asks for excellent physical condition and recommends previous mountaineering experience. That isn’t there to scare you off. It’s there because the mountain doesn’t negotiate.
Day 1: Mexico City to Piedra Grande Hut (Get Ready Before the Cold Gets Real)
The adventure begins with a drive out of Mexico City toward Tlachichuca in Puebla. From there, you’ll use 4×4 transport to reach the mountain hut area in Piedra Grande, where you spend the night.
That first day isn’t about speed. It’s about arriving and setting you up for day two:
- You go on an acclimatization walk to help your body adjust to the altitude.
- You practice essential mountaineering tools, including crampons and an ice axe, so you know what it feels like under your feet and how your hands should position.
You’ll also use this time to get comfortable with the cold-weather rhythm: layers, gloves, traction, and the pacing you’ll need later. Once you’re back at the hut, you’ll have dinner and then you prepare for the summit day. Getting a good night’s sleep here matters more than it sounds, because sunrise starts early and your legs will need to work efficiently.
In the background, the tour includes safety support and the basics to operate in glacier conditions. Accident insurance, qualified guides, entrance fees, transport, and safety equipment are part of what keeps the climb organized, not improvised.
Day 2: Before Dawn Start, Glacier Sunrise, and the Summit at 5,700 m
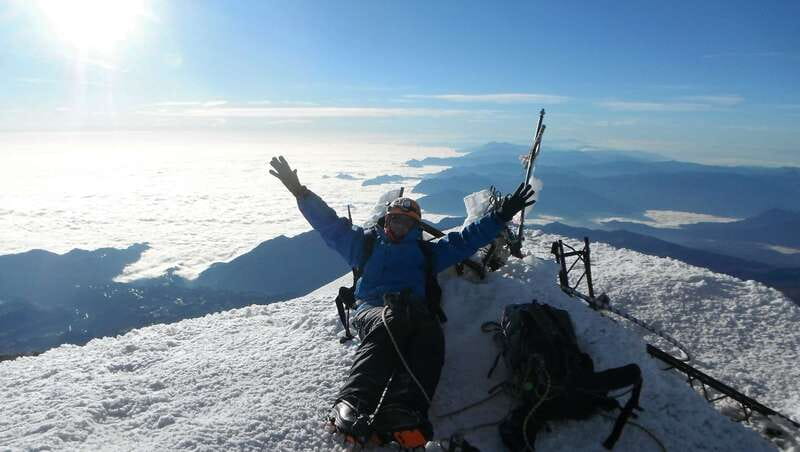
Day two starts bright and early before dawn. The goal is simple: you want to be moving while the glacier is still dark-cold and you can make the most of visibility. By the time the sun rises, you’ll be positioned to enjoy panoramic views over the valleys and ridges around Pico de Orizaba.
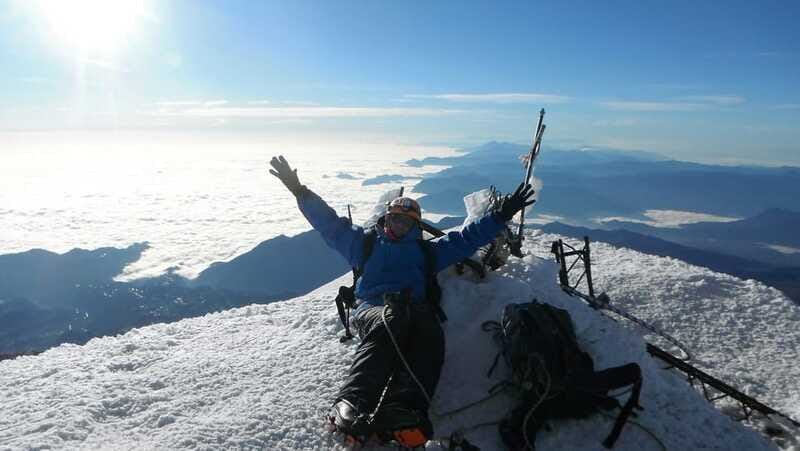
Then comes the moment most people remember: sunrise glinting off Mexico’s biggest glacier and leading the route toward the crater area. If you like mountains for drama and scale, this is the part that delivers. It’s not just pretty light; the glacier glare and contrast also help you orient while you climb.
From there, you follow the glacier route to reach the summit at 5,700 meters, Mexico’s highest point and the third-highest in North America. At the top, you’ll have time to enjoy the views before you turn around.
The descent is where good technique pays off. You’ll head back to the hut, where transport is waiting in the Tlachichuca area. After that, you eat a restorative meal before returning toward Mexico City.
Wider loops around Mexico City
- Teotihuacan Hot Air Balloon Flight from Mexico City / Volare★ 5.0 · 3,262 reviews
- Teotihuacan Private Tour from Mexico City★ 5.0 · 1,890 reviews
- Historic Center Food Tour in Mexico City★ 5.0 · 1,263 reviews
- The best tour to Teotihuacán from Mexico City★ 5.0 · 1,236 reviews
- From Mexico City: Puebla, Cholula and Tonantzintla Day Trip★ 4.3 · 1,191 reviews
Why the Glacier Route Feels Different (And Why Training Helps)
A glacier climb changes the feel of the whole day. Even when you’re moving steadily, you’re dealing with traction, slope angle, and the constant need to place your feet deliberately. That’s why the early practice on crampons and ice axe isn’t a throwaway stop.
In practical terms, practicing during the first day helps you:
- Learn how to walk with traction without overthinking it later
- Get used to how cold metal feels on gloves and hands
- Build confidence with tool handling before the summit push
This is also where a capable guide makes a real difference. From the guide experience described by people who’ve taken this trek, leaders such as Bernardino, Alan, and Carlos are known for staying patient, supportive, and focused on safety. I’d take that as a sign the team isn’t just present for the photo. They’re involved in how you move.
Guides, Safety Gear, and Accident Insurance: The “Included” Stuff That Matters
This tour is set up like a proper mountaineering day, not a hiking trip with optional gear. You’re provided with:
- head lamp
- helmet
- crampons
- ice axe
- safety equipment
- qualified guides
- accident insurance
- transport
- entrance fees
- one night accommodation
That combination is part of the value. If you’ve ever priced out a glacier-ready setup, you know gear can get expensive fast, and rental quality is never guaranteed. Here, at least the core tools and safety pieces are included. It’s also helpful if you’re trying a serious climb without already owning everything.
The English and Spanish live guide coverage is another plus. If you speak either language, you’ll be able to follow safety instructions and route explanations clearly, which reduces stress when conditions get intense.
What You Should Really Pack (So You Don’t Freeze or Fumble)
The mountain cold can make small mistakes big. Use the packing list as your baseline and adjust for your comfort level. You’ll want:
Core clothing and weather layers
- thermal clothing and warm clothing
- gloves, hat
- sunglasses
- rain gear
- hiking shoes
Comfort and overnight essentials
- sleeping bag
- towel
- daypack
- toiletries
- change of clothes
Sun and cold protection
- sunscreen
I also suggest you think in terms of cold management, not just warmth. Hat plus gloves and sunglasses help you function when you’re moving early, and sunscreen matters because high altitude and snow glare can be punishing.
Hut Night at Piedra Grande: Expect Simple, Build Your Comfort Anyway
The overnight stay is in a mountain hut in Piedra Grande for one night. This is not a hotel stop. It’s a staging place so you can rest between technical sections of a summit push.
People like this style because it keeps the climb efficient: you don’t lose precious time traveling around after a hard day. One reason it works is that you can use the hut as a place to reorganize your gear and adjust clothing after your day’s work.
If you’re used to camping, you’ll feel at home faster. If you’re not, treat the sleeping bag and warm layers as your real comfort plan. Cold sleep can ruin your summit day, so pack with that in mind.
Price and Value: Is $599 Fair for a 2-Day Pico de Orizaba Summit?
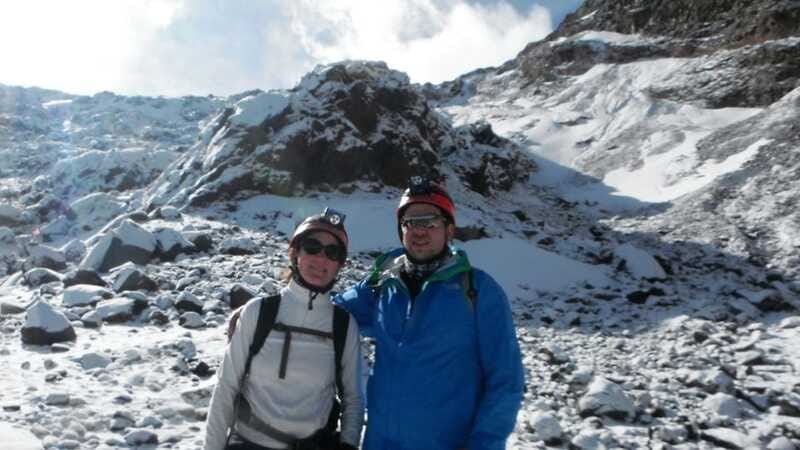
$599 per person is not a budget number. You’re paying for high-altitude guide labor, glacier-appropriate safety gear, transport, meals, and the overnight accommodation.
What you get that drives value:
- A summit attempt on Mexico’s highest peak, including the technical support expected for glacier travel
- Gear that’s costly and specific: crampons, ice axe, headlamp, helmet, safety equipment
- Accident insurance and qualified guides
- Meals across the two days: lunch and dinner day 1, breakfast and lunch day 2
- Transport and entrance fees
- One night accommodation at the hut
Alcoholic drinks are not included, so budget for any beverages you want beyond what’s provided.
For me, the best way to judge the price is this: you’re not just buying access to a viewpoint. You’re buying a structured mountaineering program with safety systems and the equipment you need to make glacier terrain walkable.
Who This Trek Is For (And Who Should Skip It)
This experience is best for people who are ready for altitude and technical snow/ice travel. The tour explicitly calls for excellent physical condition and recommends previous mountaineering experience. If you’ve never used crampons or an ice axe, you’ll still be able to learn during the program, but you should expect the mountain to be demanding.
It is not suitable for:
- pregnant women
- people with haemophilia
- people with heart problems
- people with back problems
If any of those apply, don’t treat this as a “maybe.” Choose a different trip designed for your fitness level and medical needs.
This trek fits well if you want:
- a serious summit with technical glacier components
- a small-group pace (up to 15 participants)
- strong safety focus and tool training before the summit day
Getting There: Meeting Point in Mexico City
You’ll meet at the corner of Vicente Suarez and Michoacan at the benches in front of the market. Plan to arrive a bit early so you can check in and get organized before departure toward Tlachichuca.
Because the climb starts very early on day two, I’d treat day one as your chance to sleep well, pack neatly, and avoid last-minute chaos.
Should You Book This Pico de Orizaba Summit Trek?
Book it if you want a true high-mountain experience with glacier travel, you can handle cold and altitude, and you’ll take the training seriously. I’d also book it if you appreciate a small group and want guides who focus on safety and pacing. The presence of guides like Bernardino, Alan, and Carlos in people’s experiences signals a program that values support, not just summiting.
Skip it if you’re looking for an easy hike, you’re not ready for the physical demands of 5,700 meters, or you’re affected by any conditions listed as not suitable. If you’re on the fence about your mountaineering background, be honest. The mountain rewards preparation, and this trek gives you tools to prepare, but it still expects you to show up ready.
FAQ
Where is the meeting point in Mexico City?
You meet at the corner of Vicente Suarez and Michoacan at the benches in front of the market.
How long is the Pico de Orizaba summit trek?
It lasts 2 days.
What language is the live guide?
The live tour guide is available in English and Spanish.
Is crampons and an ice axe included?
Yes. Head lamp, helmet, crampons, ice axe, and safety equipment are included.
What meals are included?
On day one, lunch and dinner are included. On day two, breakfast and lunch are included.
What time do we start on the summit day?
You start bright and early before dawn so you’re in position for the sunrise.
Who should not take this trek?
It is not suitable for pregnant women, people with haemophilia, people with heart problems, or people with back problems.
The City in a Single Day

More Tour Reviews in Mexico City
Thin Air: Nevado de Toluca and the Volcanoes
Fresh from our Mexico City notebook

Volcano Hikes & Nevado de Toluca, compared.
 ★ 4.8Nevado De Toluca: Reach the Summit with ProfessionalsFrom $162250 reviews
 ★ 4.0Iztaccihuatl Volcano Hike with an AlpinistFrom $139244 reviews
 ★ 4.7Guided Volcano Trek with LunchFrom $105242 reviews
 ★ 4.3From Mexico City: Hike Iztaccihuatl Volcano with an AlpinistFrom $168155 reviews
 ★ 5.0Trekking Through The VolcanoesFrom $13396 reviews
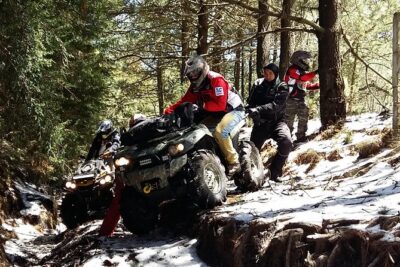 ★ 5.02 Volcanos – Special 2 pax, 3 -4 hr ride. Reserve Only 1 paxFrom $50081 reviews
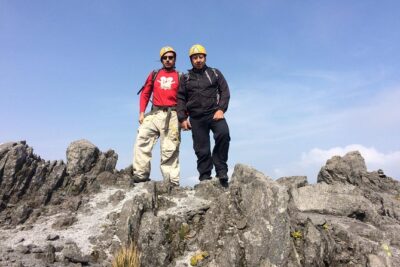 ★ 5.0Mountaineering to the Nevado de Toluca (altitude 4680m)From $16678 reviews
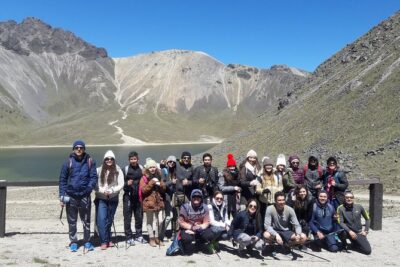 ★ 5.0Hike at Nevado de Toluca VolcanoFrom $10569 reviews
Browse the lists this tour appears in